
DIY Lash Extension Guide: How to Apply Cluster Lashes Like a Pro
How to Apply DIY Cluster Lash Extension for Affordable Glam That Lasts
Posted by SB Boutique | Lash Education Series

If you've ever dreamed of waking up with flawless lashes without the salon price tag, you're not alone! At SB Boutique, we believe every SB Babe deserves to feel confident, glam, and gorgeous — on your terms and budget. That’s where DIY lash extensions come in: affordable, long-lasting, and totally doable at home. Today, we’re breaking down exactly how to apply your DIY lash extension clusters so you can slay that soft glam look day after day — without ever stepping foot in a salon. We understand the allure of salon-quality lashes, but we also know the importance of a practical, budget-friendly beauty routine. Our commitment is to provide you with the tools and knowledge to achieve professional results on your own time. The world of DIY lash extensions is vast, but with the right guidance, it's easy to navigate and master.
Why DIY Lash Extensions?
Let’s be real — salon lashes are stunning, but the upkeep (and cost!) can be overwhelming. A DIY lash extension set gives you: ✅ Affordable luxury: Get that lash tech look without breaking the bank. ✅ Flexibility: Apply when you want, where you want, and on your own schedule. ✅ Customization: Go bold, natural, or anywhere in between, with a wide variety of styles and lengths to choose from. Our DIY lash extension kits at SB Boutique are designed for easy application, even if you’re a total beginner! We have carefully curated each kit to include everything you need to start your lash journey with confidence. From the high-quality clusters to the durable adhesive, every component is selected to ensure a successful and long-lasting DIY lash extension application. This is your chance to take control of your beauty routine and achieve the lashes you've always wanted. The process is empowering, and the results are incredibly rewarding.
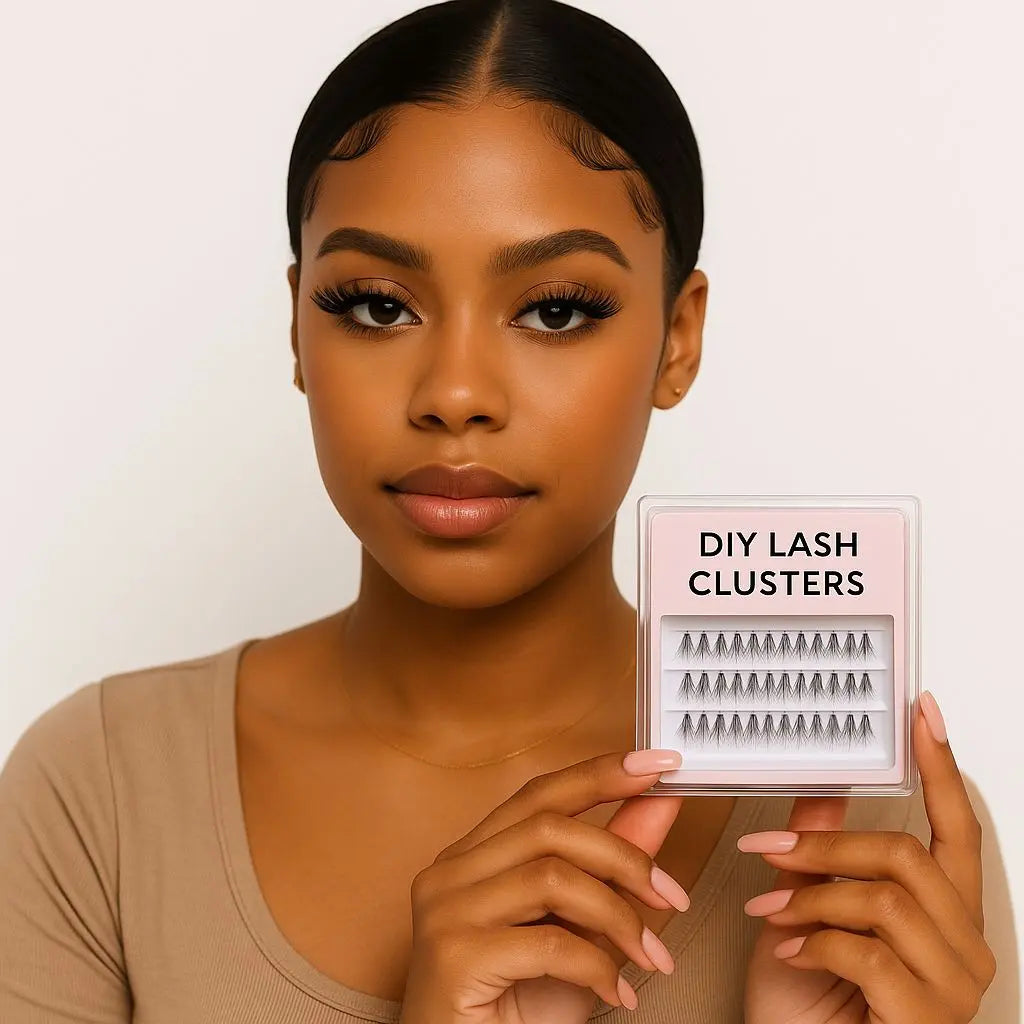
What You’ll Need Here’s your DIY lash extension starter pack: SB Boutique DIY lash extensions (choose your style: 40D for natural glam, 60D for fuller drama) Bond/Seal, Lash applicator tweezers. Spoolie brush, and Micellar water or oil-free makeup remover (for clean prep)
Step-by-Step: How to Apply DIY lash extension Clusters
1️⃣ Prep Your Lashes Start with clean, makeup-free lashes. Use micellar water or an oil-free remover to wipe away any residue — this helps your DIY lash extension clusters stick better and last longer. A clean base is the most important step for a successful application and maximizing the life of your DIY lash extension set. 💡 Pro Tip: Gently curl your natural lashes beforehand if you want extra lift and a more seamless blend.
2️⃣ Map Out Your Look Before applying any adhesive, hold your clusters up to your lash line. Decide where you want volume: outer corners, all-over glam, or just a subtle boost with your DIY lash extension set. Mapping your look ensures you achieve a symmetrical and balanced result. ✨ SB Babe tip: Mix and match lengths for a natural, wispy effect! The beauty of DIY lash extensions is the ability to personalize your look completely.
3️⃣ Apply the Adhesive You’ve got two options for your DIY lash extension bond: Direct bond: Lightly brush adhesive along the base of your natural lashes (not the waterline). Cluster dip: Dip the cluster base into a small amount of adhesive. Either method works — choose what feels easiest for your DIY lash extension routine! Practice makes perfect, so don't be afraid to experiment to find your preferred method.
4️⃣ Place Your Clusters Using your applicator or tweezers, gently place the DIY lash extension cluster under your natural lashes, close to the lash line but not on the skin. Press lightly to secure. Work from the outer corner inward for better control when applying your DIY lash extension clusters. 💡 Pro Tip: Less is more — start with 3-4 clusters per eye and add as needed for your desired DIY lash extension look.
5️⃣ Blend + Set Once all clusters are placed, use a spoolie to lightly blend your natural lashes with the DIY lash extension clusters. Check for gaps and fill in if needed. Allow the adhesive to set fully — avoid touching or getting your DIY lash extension set wet for the first few hours. This final step is crucial for ensuring a natural finish and long-lasting wear.
Aftercare:
Keep Your Lashes Looking Fresh 🖤 Sleep on your back if possible — no smushed DIY lash extension clusters! 🖤 Avoid oil-based makeup removers near the DIY lash extension bond. 🖤 Gently brush them daily to keep them fluffy and your DIY lash extension look intact. Your DIY lash extension clusters can last up to 5-7 days with proper care — sometimes even longer!
Common Mistakes (and How to Avoid Them)
🚫 Using too much glue: A little goes a long way in DIY lash extension application! Excess glue = sticky mess. 🚫 Placing clusters on skin: Always aim for the lash, not the eyelid. This prevents irritation and helps your DIY lash extension clusters stay on longer. 🚫 Skipping prep: Clean lashes = better hold. Don’t skip prepping your DIY lash extension base!
Final Thoughts:
Glam Is in Your Hands With a little practice, you can totally master DIY lash extensions at home. At SB Boutique, we’re here to help you glow without the splurge — because you deserve soft luxe beauty that fits your life and budget. Ready to try? Explore our DIY Lash Extension Collection and level up your lash game today! Your glam, your way — shop SB Boutique lashes now and take your look to the next level!
Related Reads
Trusted Tools We Love
Final Thoughts: Glam Is in Your Hands
With a little practice, you can totally master DIY lash extensions at home. At SB Boutique, we’re here to help you glow without the splurge — because you deserve soft luxe beauty that fits your life and budget.
💖 Ready to try? Explore our DIY Lash Extension Collection and level up your lash game today!